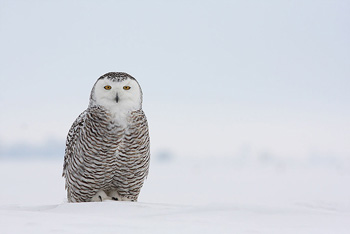
Normally bird photographers have the desire to use more millimetres during shooting. When you have a 200 millimetre lens, you want a 400 mm lens; of course with an extender and a body with a crop factor so as to have a good range. Once the 400 mm lens is in your possession, you're already dreaming of a 500 mm lens. The more millimetres the better! I myself reach 1120mm with the combination of 500 mm (lens) x 1.4 (extender) x 1.6 (crop factor of my body)…
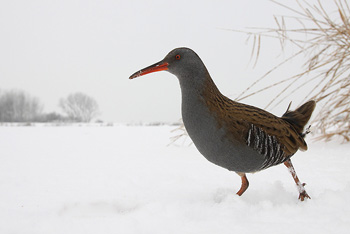
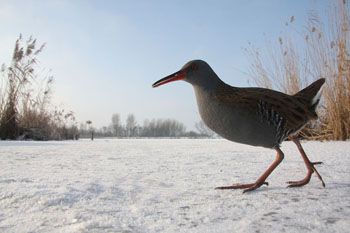
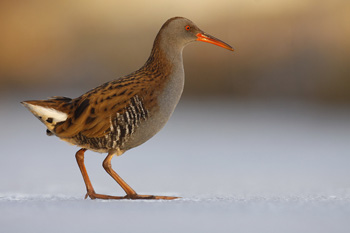
However, size doesn't necessarily determine quality. Also with few millimetres one can take nice and particularly creative photos. Think about Adri Hoogendijk's now famous picture of a Water Rail in his vicinity!
When you are using for example a 17mm-lens, the camera has to be nearby the bird when taking the picture. Often that’s difficult and admittedly, for a lot of photographers, the reason for using a telephoto lens. However it's not the camera itself that is the problem, but the user of the camera. One might wonder how it's possible to solve the dilemma when the problem in question is you. It's something entirely achievable.
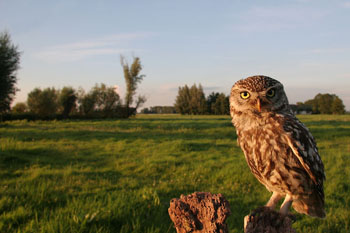
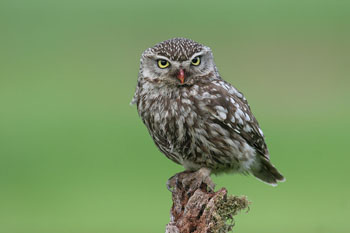
Place your camera near the place where you expect the bird. See for example the picture of the Little Owl below. This Little Owl ‘lives’ on a farm and likes to sit in his usual stump. By placing the camera near this stump and using a long cable release, I was able to shoot the Little Owl in its vicinity. Mind you, know what you're doing. Try not to disturb the bird.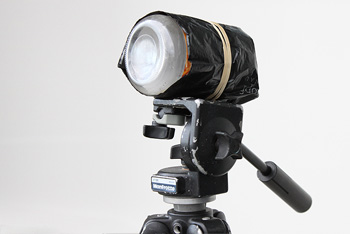
An imitation camera on a tripod
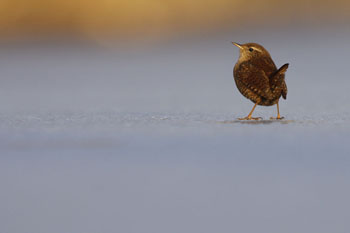
Few mm
Many mm
Start with an imitation camera on a tripod (for example a glass jar with a black trash bag wrapped around its circumference) and every day move this one meter closer so that the bird can get used to the presence of a camera. Don’t rush this, it should be a long process. Of course one could also lure a bird to a place by regularly offering food at a usual spot and laying the imitation camera nearby.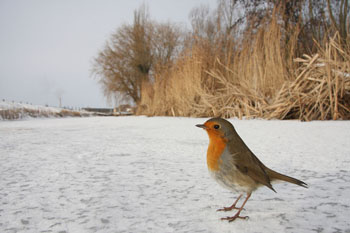
Few mm
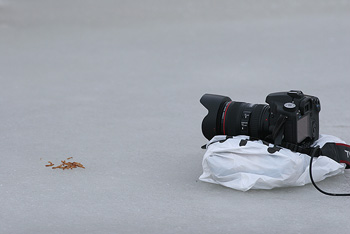
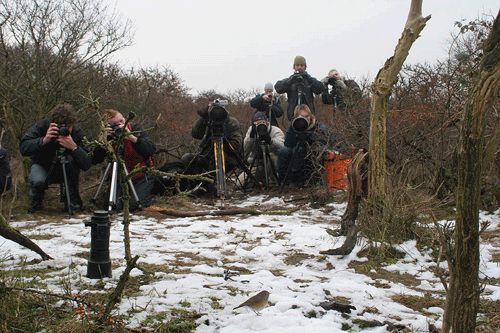
The making off
How do you get a long cable release? You can’t buy it in a store; the only one available is only about one metre in length. But of course that’s way too short; so buy one and cut it in the middle! Then you attach a long wire between the two halves. When I take pictures in this way I choose to focus the image in advance. After that I turn off the autofocus. Mostly I take an empty tub of butter or an empty milk carton which I put down at the spot where I expect the bird so I can pre-focus. A (perhaps expensive) alternative is a wireless cable release.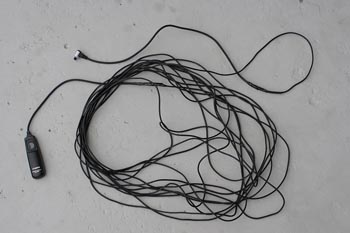
Cable release with a wire of 20m
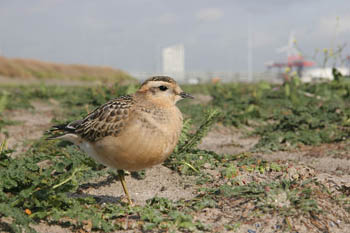
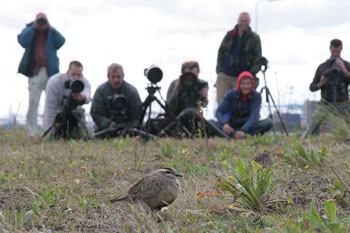
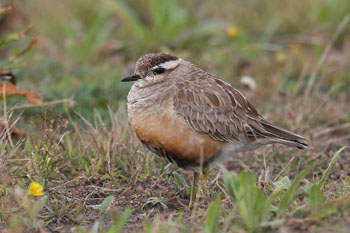
Another possibility is to creep up to a bird. This does not always succeed, but it usually works with, for example, a Dotterel. This bird is not used to people yet normally has no fear of them. By moving cautiously you can come quite close to the bird. The bird itself shows you how close can come. It’s important to know the behaviour of the bird before you start such an activity. When the bird flies away you were obviously too close.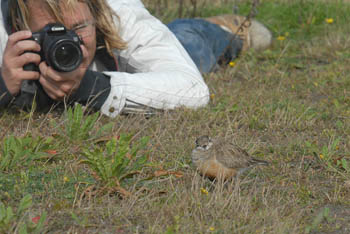
Photo: Gerard Visser
Few mm
Few mm
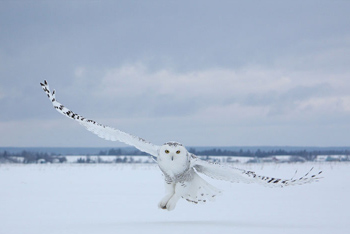
Many mm
What else do you have to pay attention to? A lot of photographers want no human elements, like people or buildings in their pictures. I personally have no problem with that; sometimes I even choose consciously to add these elements to my pictures, see for example the Red-flanked Bluetail (below) and the Dotterel (above). If you don’t like these human elements in your photos, choose an environment with a lack of these elements.
Lastly, if you see a horizon in your photo, make sure it’s straight. Be sure not to zoom out too much, otherwise the horizon will be curved.
Few mm
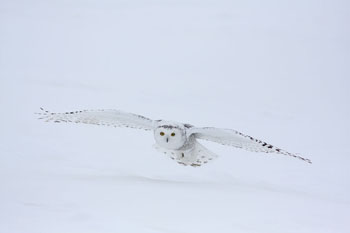
Many mm
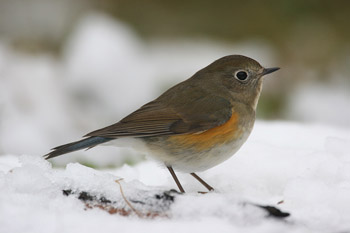
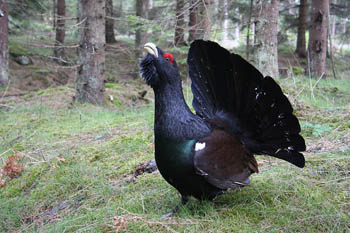
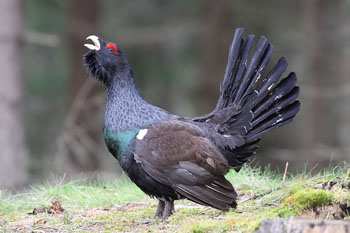
Below are some examples. Some are more successful than others: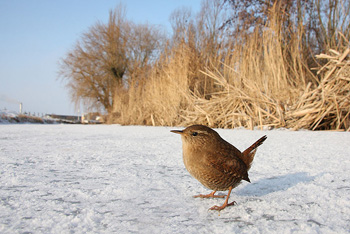
Few mm
Many mm
Few mm
Many mm
Few mm
Many mm
Few mm
Many mm
Few mm
Many mm